Understanding Dual Extrusion on Tevo Tarantula
Upgrading your Tevo Tarantula 3D printer to a dual extruder setup opens up a world of creative possibilities, allowing you to print with two different colors or materials simultaneously. This guide will walk you through the process, from gathering the necessary components to configuring your printer’s firmware and slicer settings. Dual extrusion is a significant enhancement, vastly increasing the versatility of your prints, enabling complex designs, and improving your overall 3D printing experience. The process is a bit involved, but the results are well worth the effort, allowing for unique designs and features unavailable with a single extruder.
Benefits of Dual Extrusion
The advantages of dual extrusion extend beyond just aesthetics; it opens up new horizons for 3D printing enthusiasts. By using two extruders, you can combine different materials and properties in a single print. This allows for more complex designs, increased functionality, and enhanced visual appeal. Furthermore, dual extrusion enables the use of support materials that can be easily removed, leaving behind a clean and detailed finish. This means you can print intricate models that would be impossible with a single extruder setup, significantly increasing your design freedom and overall print quality. The benefits also include the possibility of faster print times and fewer material changes compared to single-extruder setups for multi-color prints.
Printing with Two Colors
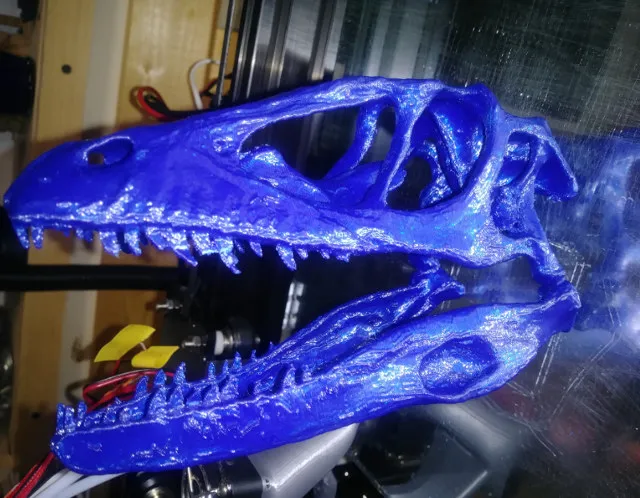
One of the most immediate benefits is the ability to print with two different colors within the same object. This is perfect for creating visually appealing models with intricate color schemes, text, or logos. You can design your prints with different parts, each assigned to a specific color. This allows for a more engaging and professional look to your printed objects. The ability to switch colors on the fly during the print process also introduces new possibilities for artistic expression and the creation of unique designs. Furthermore, the capability to use contrasting colors enhances visibility and aesthetic quality.
Printing with Different Materials
Beyond color, dual extrusion permits the use of different materials with varied properties. For example, you can combine a rigid material for the main structure with a flexible material for specific parts, such as hinges or grips. Another practical application is printing support structures with a material that dissolves in water or a specific solvent, resulting in a clean finish without manual removal. This is particularly useful for complex geometries and overhanging features. The combined use of different materials allows for creating objects with enhanced functionality and durability. This extends the range of models you can create and increases their suitability for practical applications.
Gathering Necessary Components
Before you start, you’ll need to gather all the required components. This includes the dual extruder hardware, the appropriate wiring, and any necessary tools. While the specific components can vary depending on the chosen setup, it’s critical to ensure compatibility with your Tevo Tarantula. Carefully review the specifications of all the parts and tools to ensure a seamless integration into your printer setup. Make sure all necessary screws, connectors, and other small parts are available. Proper preparation ensures that the upgrade process is as smooth as possible, eliminating delays and potential problems during the installation process.
Dual Extruder Kit or DIY Solution
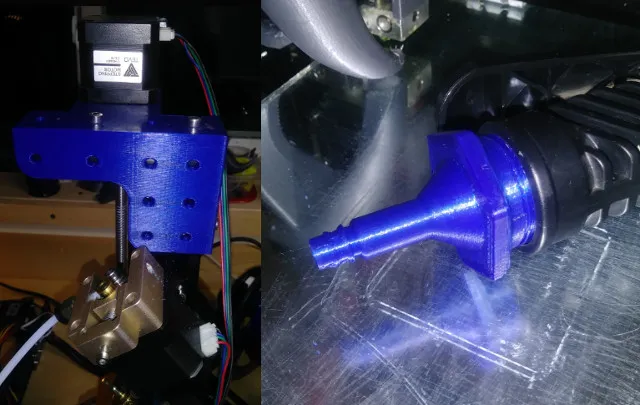
You have two main options: purchasing a pre-built dual extruder kit or assembling your own. Kits offer convenience and often include all the necessary parts, along with instructions specific to your printer model. On the other hand, a DIY approach provides more flexibility, allowing you to customize the setup and potentially save money. However, it requires more research and technical knowledge. Consider your experience level and preferences when choosing between the two options. Both options have pros and cons, so selecting the one that aligns best with your skills and the desired outcome is essential for a successful dual-extrusion upgrade.
Extruders & Hotends
The extruders are the core of the dual extrusion system, responsible for pushing the filament through the hotends. You’ll need two extruders, and they should be compatible with your filament size (typically 1.75mm or 3mm). The hotends melt the filament and deposit it onto the print bed. Make sure your hotends can reach the required temperatures for the materials you intend to print. Consider the quality of both extruders and hotends; better components can translate into more reliable printing results. Proper selection is critical for ensuring successful printing outcomes, including quality and ease of use.
Nozzles & Thermistors
Choose nozzles with the appropriate diameter for your printing needs. Smaller nozzles offer higher detail, while larger nozzles allow for faster printing. You’ll also need two thermistors to accurately measure the temperature of each hotend. Ensure the thermistors are compatible with your printer’s control board. These are vital to maintaining the correct temperature for each filament being used. Reliable temperature monitoring and control prevent issues such as poor print quality or nozzle clogging. Calibration is also very important for the thermistors for the best print result.
Wiring & Electronics
You’ll need to wire the extruders’ stepper motors, thermistors, and heating cartridges to your printer’s control board. Consult the wiring diagrams provided with your kit or research the connections for your specific hardware. Ensure you have the necessary connectors, wires, and crimping tools. Precise wiring is critical for the smooth and safe operation of the dual extrusion system. Incorrect wiring can damage components and pose a safety risk. Take your time, double-check your connections, and follow all safety guidelines to guarantee a successful upgrade.
Preparing the Tevo Tarantula for the Upgrade
Before installing the dual extruder, you must prepare your Tevo Tarantula. This includes disassembling the existing extruder, modifying the frame if necessary, and making room for the new hardware. It also involves ensuring that all the mounting points are compatible with the dual extruder. Proper preparation makes the installation process less complex and reduces the likelihood of errors. Thorough preparation is crucial to guarantee an optimal and reliable performance of your 3D printer.
Disassembling the Existing Extruder
Carefully remove the original extruder assembly, noting how the wires and components are connected. Take photos or make sketches to help you remember the original configuration. Store all the removed parts in a safe place in case you need them later. Take your time to avoid damaging your printer. Use proper tools to prevent stripping screws or breaking components. Accurate disassembly lays the groundwork for a smooth installation of the new components. A good disassembly phase ensures that you maintain all necessary parts for a possible future return to the original setup, if necessary.
Mounting the New Dual Extruder
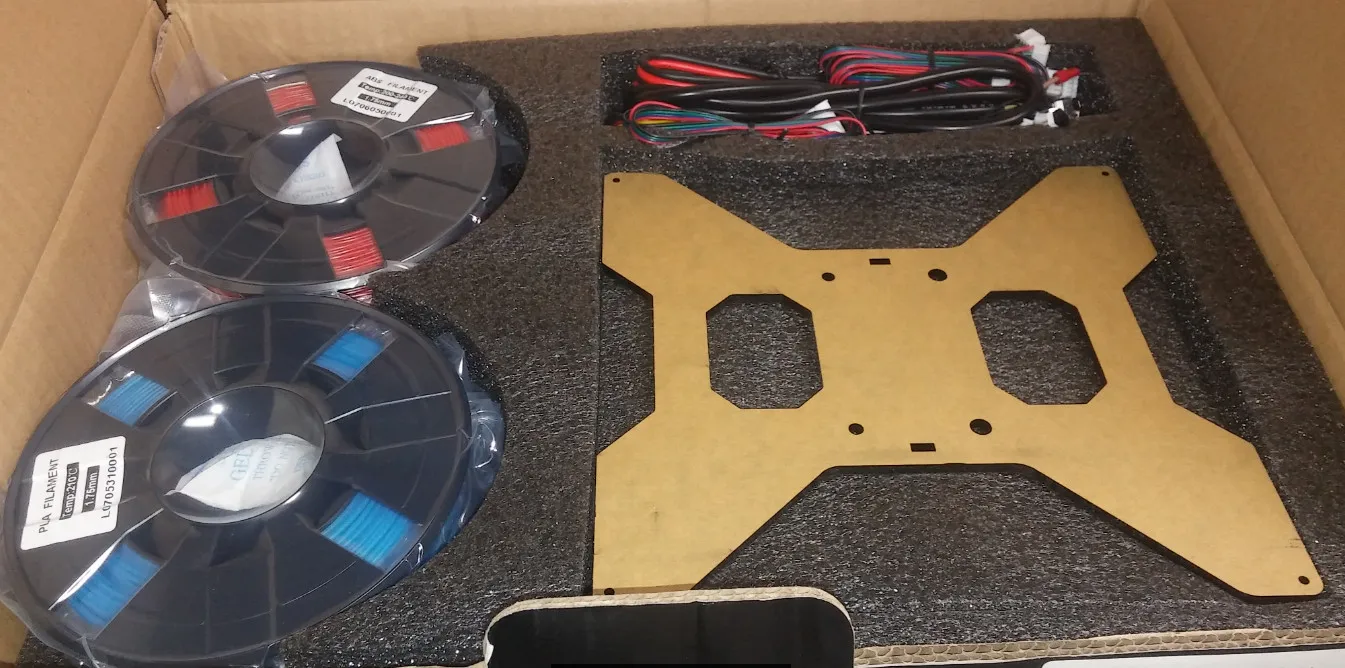
Mount the new dual extruder assembly to the printer’s frame, following the instructions provided with your kit or based on your custom design. Secure all screws and ensure that the extruders are correctly aligned and positioned over the print bed. The new dual extruder should be securely fastened to ensure stability during printing. The correct alignment of the extruders is crucial to achieve the perfect height for the nozzles, enabling them to apply the filament layers accurately on the print bed. Ensure that the new setup does not impede the movement of the X-axis or Y-axis. Precise mounting ensures good print quality and reliability.
Wiring the Extruder Motors
Connect the stepper motor wires for each extruder to the appropriate motor driver on your printer’s control board. Refer to your board’s documentation or the kit instructions to identify the correct connections. Ensure that the wiring is secure and that the polarity is correct. Incorrect wiring may result in the motor not functioning or damage. Take extreme care to avoid short circuits and ensure the wires are properly insulated. If you’re not sure about the wiring, it’s best to seek help from someone with experience to prevent any damage to the printer or the components. Double-check the wiring to avoid any possible errors that could impact the printer’s performance.
Configuring the Firmware
After physically installing the dual extruder, you’ll need to configure your printer’s firmware to recognize the new setup. This involves flashing a new firmware version or modifying your existing one. Configuration is key to informing the printer of the presence of the second extruder, including the hotend temperatures and print bed setup.
Flashing Firmware
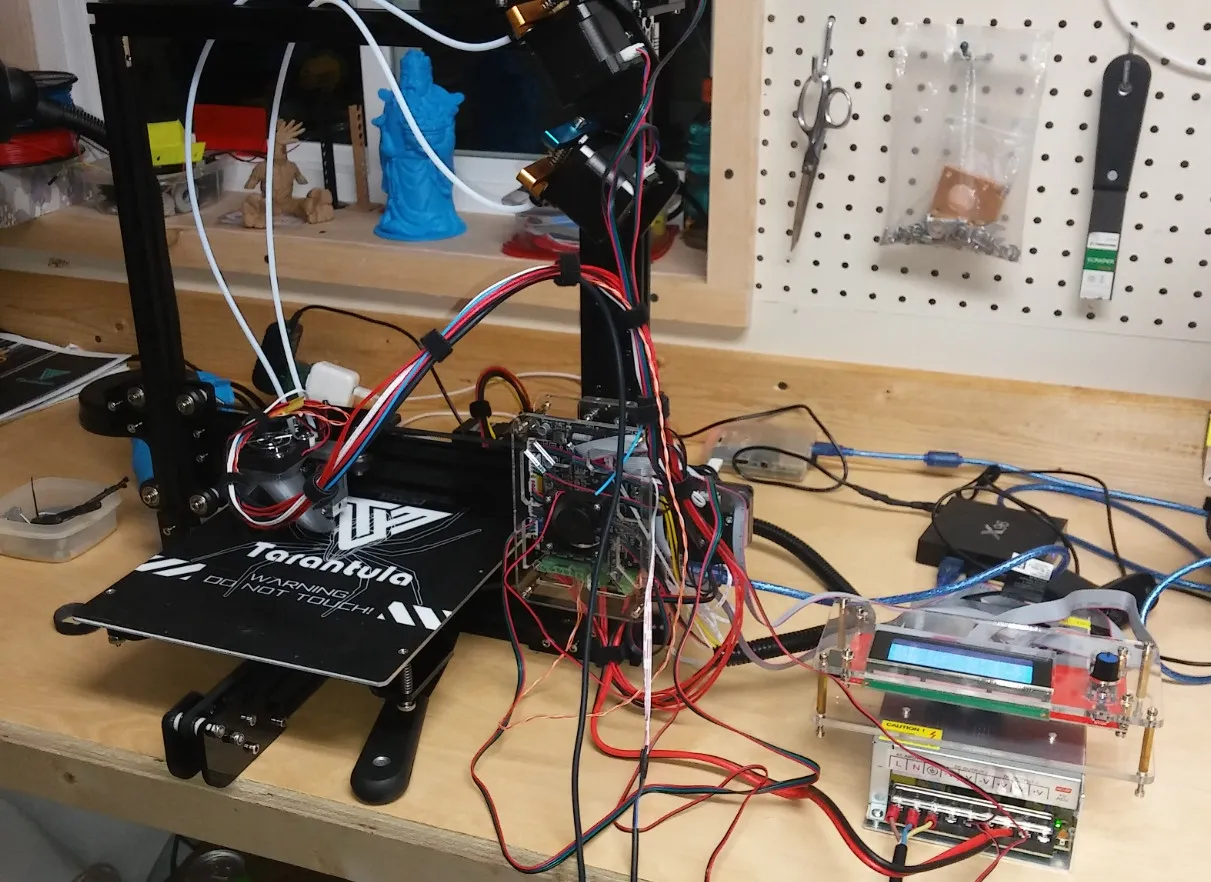
You might need to flash a new firmware version to your control board. Popular options include Marlin and Repetier. Download the appropriate firmware for your board and the dual extruder setup. Use the Arduino IDE or a similar program to upload the firmware to your printer. When configuring the firmware, specify the number of extruders (usually ‘2’), the thermistor type, and the motor driver settings. Incorrect firmware configuration can cause issues, so make sure you understand all the settings. Before flashing, back up your current firmware in case something goes wrong. Follow the steps and consult the manuals provided to flash the new firmware.
Calibrating the Extruders
Once the firmware is installed, you must calibrate the extruders. This includes adjusting the E-steps per mm and ensuring that both extruders deposit the correct amount of filament. You’ll also need to calibrate the Z-offset to ensure that both nozzles are at the correct height above the print bed. This process is critical for achieving proper layer adhesion and print quality. Perform tests, such as printing a small calibration cube with both extruders, to verify that the setup is working correctly. Careful calibration and testing can prevent a series of print errors, saving filament and time. Proper calibration is the difference between successful and unsuccessful dual-extrusion printing.
Slicing Settings for Dual Extrusion
Slicer software is essential for generating the G-code that your printer uses to create 3D objects. You’ll need to configure the slicer settings to accommodate the dual extruder setup. This process involves selecting the correct printer profile, defining the material profiles for each extruder, and adjusting the printing parameters.
Choosing a Slicer
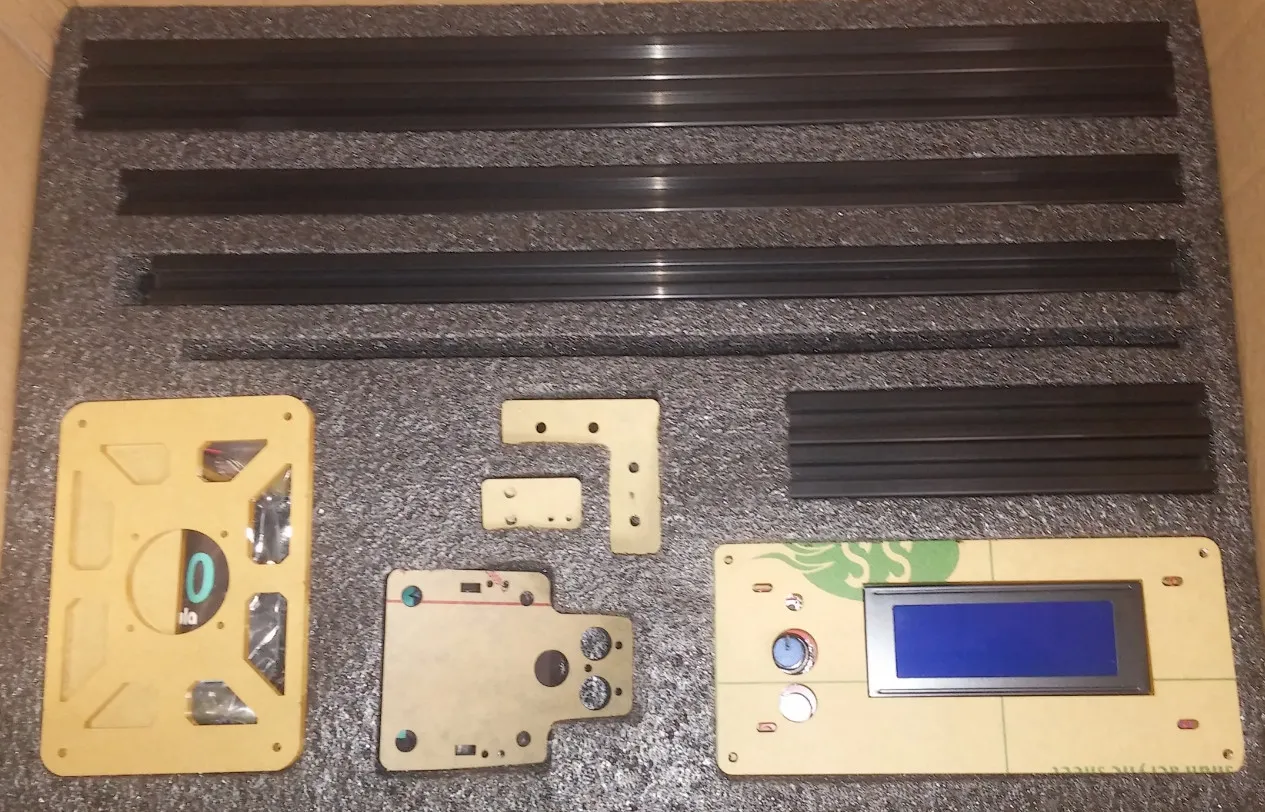
Popular slicer software options include Cura, Simplify3D, and PrusaSlicer. Choose a slicer that supports dual extrusion and is compatible with your printer. The best slicer often depends on personal preference and the specific features you need. Consider the available profiles, the user interface, and the community support. Ensure the slicer has features for dual extrusion, such as the ability to assign different models to different extruders and generate support material. Familiarize yourself with the slicer’s interface and settings to maximize your 3D printing experience. Learning a new slicer might seem intimidating, but it’s an important step for fully utilizing the capabilities of your dual-extrusion setup.
Material Profiles
In the slicer, create material profiles for each filament you plan to use. These profiles define the printing temperature, bed temperature, print speed, and other parameters specific to the material. Correctly configured material profiles guarantee the best print quality and minimize the chance of issues such as warping or layer adhesion problems. Research the recommended settings for your filament and adjust them according to your printer and environment. These profiles are an important part of ensuring reliable prints. Correct material profile is the key for the proper result.
Printing Parameters
Adjust the printing parameters, such as layer height, infill density, and print speed, to optimize the print quality and speed. When printing with two materials, consider the compatibility of the materials and adjust the settings accordingly. For example, if you use a dissolvable support material, you will need to adjust the settings for that specific material. Experiment with different settings and print small test objects to determine the optimal parameters for your prints. The more you experiment, the more you will understand how the settings impact the final product. The optimal parameters depend on the materials, the model’s geometry, and the desired result.
Troubleshooting Common Issues
Even with careful setup and configuration, you might encounter some common issues. Troubleshooting these problems requires a systematic approach and an understanding of the underlying causes.
Clogging
Clogging is a common problem that can occur in any 3D printer, especially in dual extruder setups. If the nozzle is clogged, the filament cannot flow freely, leading to failed prints. Common causes include incorrect temperature, dust and debris, or degraded filament. Try increasing the nozzle temperature slightly, using a cleaning filament, or removing the nozzle to clean it manually. Regular maintenance and keeping your filament clean can prevent clogging. Keep your printer and materials free of dust or any other particles. It’s important to determine whether the clog is caused by the hotend, extruder, or the filament itself.
Layer Adhesion Problems
Poor layer adhesion can result in weak prints or parts separating during printing. Ensure the bed is level, and the nozzle is at the correct height above the bed. Also, check the printing temperature and ensure it’s optimal for the materials you are using. Printing too cold may cause the layers to not bond correctly. Another cause could be the type of material used, or the print speed. Adjusting the printing parameters can often resolve layer adhesion issues. You should experiment to find the perfect settings for each of your filaments, as they all have different characteristics.
Calibration and Bed Adhesion
Proper bed adhesion is vital for successful 3D printing. Make sure the bed is level, and the first layer is adhering correctly. Check the Z-offset and adjust it if necessary. Use a bed adhesion aid, such as glue stick, tape, or a heated bed, to improve adhesion. The first layer is critical for the success of your print. A well-calibrated print bed and correct first-layer settings are crucial for bed adhesion. If you are having trouble with bed adhesion, be sure to investigate this issue before moving forward with any of the other troubleshooting steps. Experiment with different settings and bed adhesion aids to optimize your prints.
Maintaining Your Dual Extruder Setup
To keep your dual extruder setup running smoothly, regular maintenance is essential. Maintenance ensures the lifespan and continued performance of your 3D printer. It involves a variety of tasks, ranging from routine cleaning to more complex adjustments. Preventative care can spare you from the time-consuming and expensive repairs. By following these maintenance tips, you can enjoy years of reliable and high-quality 3D printing.
Regular Maintenance
Clean the nozzles regularly to prevent clogging. Inspect the wiring and connections for any signs of wear or damage. Lubricate the moving parts of the printer, such as the X and Y axes, to ensure smooth operation. Conduct regular checks to ensure that all components are functioning correctly. Make a maintenance checklist and follow it consistently. Regular maintenance is key to prolonging the life of your 3D printer. Keep all the moving parts clean and lubricated to prevent unnecessary wear and tear.
Cleaning and Lubrication
Regular cleaning and lubrication are essential for the smooth operation of your printer. Clean the hotends and nozzles with a brush or a specialized cleaning tool. Lubricate the linear rails and threaded rods with a suitable lubricant. Use a vacuum cleaner or compressed air to remove dust and debris from the printer frame. Clean nozzles and lubricate the printer regularly. These tasks minimize the risk of failures and improve the quality of your prints. Proper cleaning and lubrication are the keys to keeping your printer running smoothly and extending its lifespan.
Extruder Alignment
Regularly check the alignment of the extruders to ensure they are correctly positioned relative to the print bed. Incorrect alignment can result in inconsistent layer heights and poor print quality. If necessary, adjust the position of the extruders to ensure that both nozzles are printing at the same height. Proper alignment is critical for consistent layer height. Periodically verify the alignment to maintain optimal printing quality. Misalignment is a common issue that can cause all sorts of printing problems. Keep your extruders in perfect alignment for perfect results!
Conclusion
Upgrading your Tevo Tarantula with a dual extruder is a worthwhile project that significantly enhances your 3D printing capabilities. Though it involves careful planning, preparation, and configuration, the ability to print with two colors or materials will open up new possibilities for your projects. By following the steps outlined in this guide and troubleshooting any issues as they arise, you can successfully integrate dual extrusion into your Tevo Tarantula, unlocking a new realm of creativity and functionality. Embrace the journey of learning and experimentation, and enjoy the exciting results you’ll achieve with your enhanced 3D printer. Happy printing!
