Understanding Tevo Tarantula Pro Auto Bed Leveling
The Tevo Tarantula Pro is a popular 3D printer known for its affordability and ease of use. One significant upgrade that greatly enhances the printing experience is auto bed leveling (ABL). Auto bed leveling automates the process of ensuring the print bed is perfectly aligned with the nozzle, which is crucial for achieving successful prints. This guide will walk you through the entire setup process, ensuring you can take advantage of this fantastic feature and improve your 3D printing results. Auto bed leveling eliminates the tedious manual adjustments often required, making the printing process much smoother and more reliable. By automating this critical step, you can save time, reduce frustration, and ultimately, produce higher-quality prints. Get ready to transform your printing experience!
Benefits of Auto Bed Leveling
Improved First Layer Adhesion
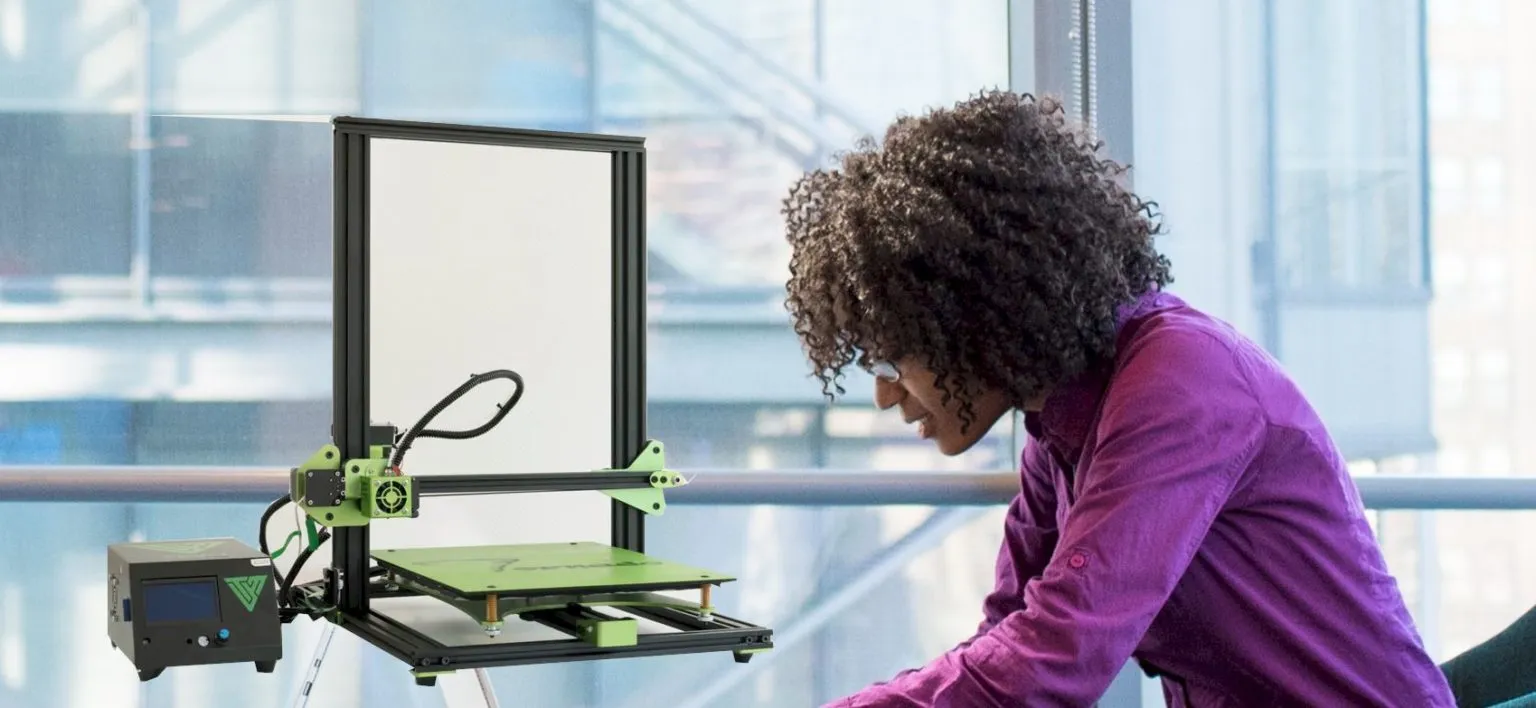
One of the most significant advantages of auto bed leveling is the improvement in first-layer adhesion. The first layer is the foundation of your print, and if it doesn’t adhere properly, the entire print is likely to fail. ABL ensures the nozzle is the correct distance from the bed across the entire surface. This precise distance allows the plastic to bond effectively to the bed, preventing warping, lifting, and other common issues that can ruin a print. With a well-calibrated first layer, you can expect much better results, less waste, and more successful prints overall.
Reduced Manual Calibration
Manual bed leveling can be a time-consuming and often frustrating process. It requires careful adjustments using knobs or screws and can take several attempts to get right. Auto bed leveling eliminates the need for this manual calibration, saving you valuable time and effort. The sensor automatically measures the bed’s surface and adjusts the nozzle height on the fly, ensuring the perfect distance regardless of any imperfections. This automation frees up your time to focus on other aspects of your prints, such as design and material selection, allowing you to streamline your workflow and enjoy a more efficient printing process.
Overall Printing Quality Improvement
The combined benefits of improved first-layer adhesion and reduced manual calibration lead to an overall improvement in printing quality. Prints will be more accurate, with better dimensional accuracy and fewer defects. You’ll see fewer instances of warping, stringing, and other common issues that can affect the final product. With auto bed leveling, you can achieve consistent, high-quality results, whether you’re printing simple prototypes or complex models. It makes your 3D printing experience significantly more enjoyable and rewarding.
Gathering Required Tools and Materials
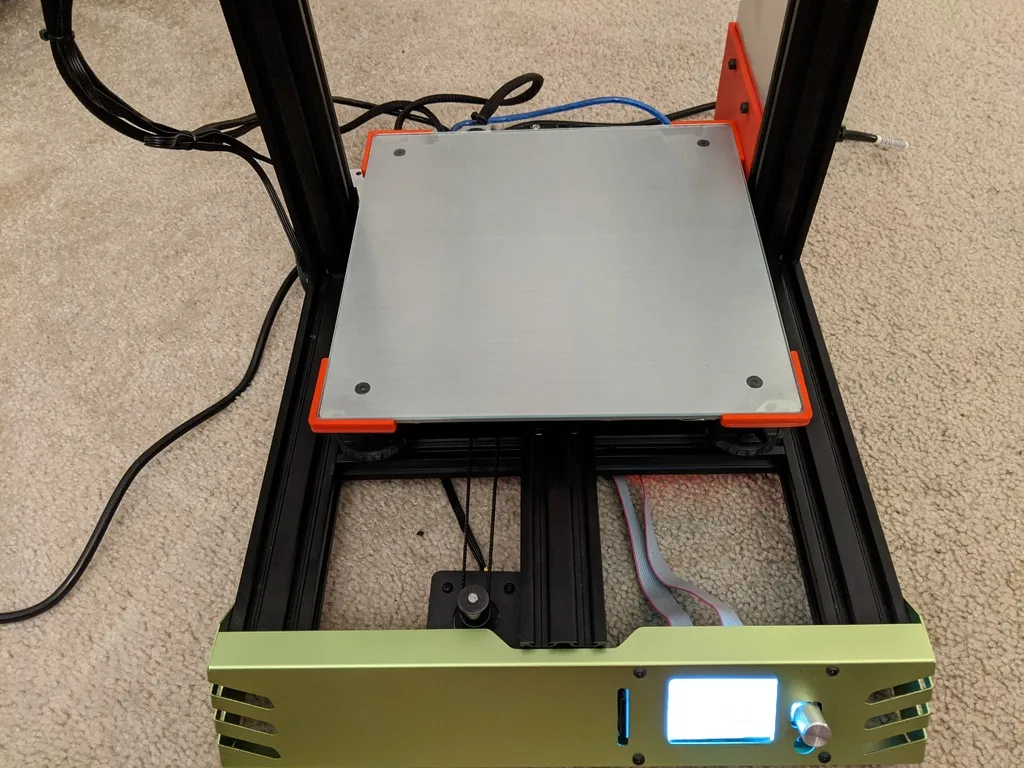
Tevo Tarantula Pro 3D Printer
This is your primary tool. Ensure your Tevo Tarantula Pro is assembled correctly and in working order. Check that all the mechanical components are aligned and that the printer is connected to a power source and your computer. Having a functional printer is essential before you start the auto bed leveling setup.
Auto Bed Leveling Sensor
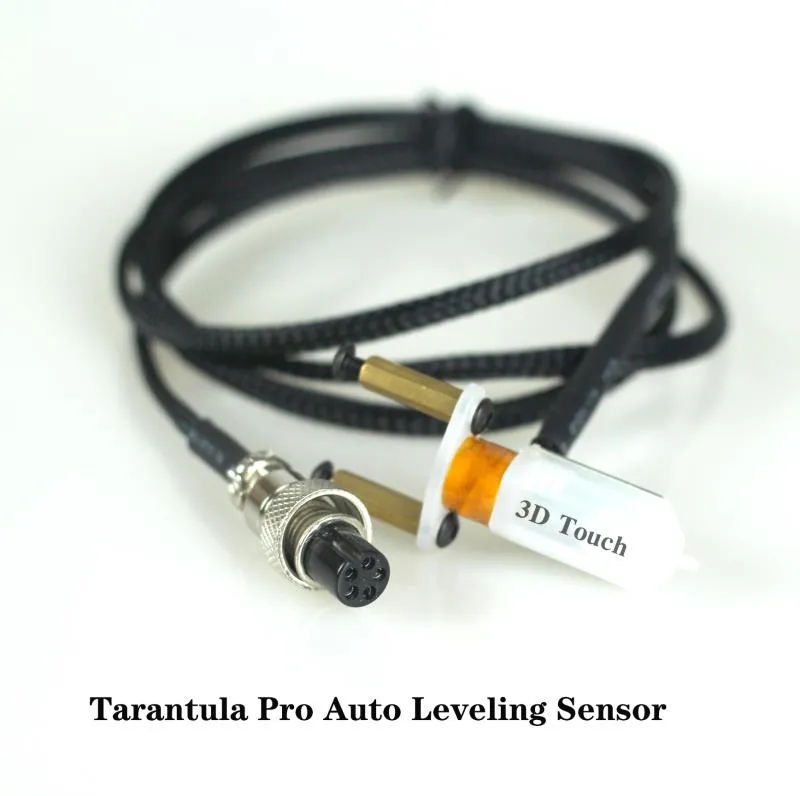
You’ll need a compatible auto bed leveling sensor. Popular options include inductive, capacitive, or a BLTouch sensor. Make sure you select a sensor that is compatible with your Tevo Tarantula Pro and that you have the necessary mounting hardware. Research and choose a sensor that fits your needs and budget.
Screwdrivers and Wrenches
You’ll need a set of small screwdrivers and possibly some small wrenches or Allen keys to mount the sensor and make any necessary adjustments to your printer. A good quality set of tools will make this process much easier. Ensure the screwdrivers and wrenches you have are the correct size to fit the screws on your printer and the sensor.
Firmware
You will need to download or customize the firmware for your Tevo Tarantula Pro. Marlin is a common and versatile firmware option for 3D printers. You may need to modify the firmware configuration file to enable auto bed leveling and adjust settings specific to your sensor. A computer with internet access will be required to download and configure firmware.
Installing the Auto Bed Leveling Sensor
Sensor Mounting
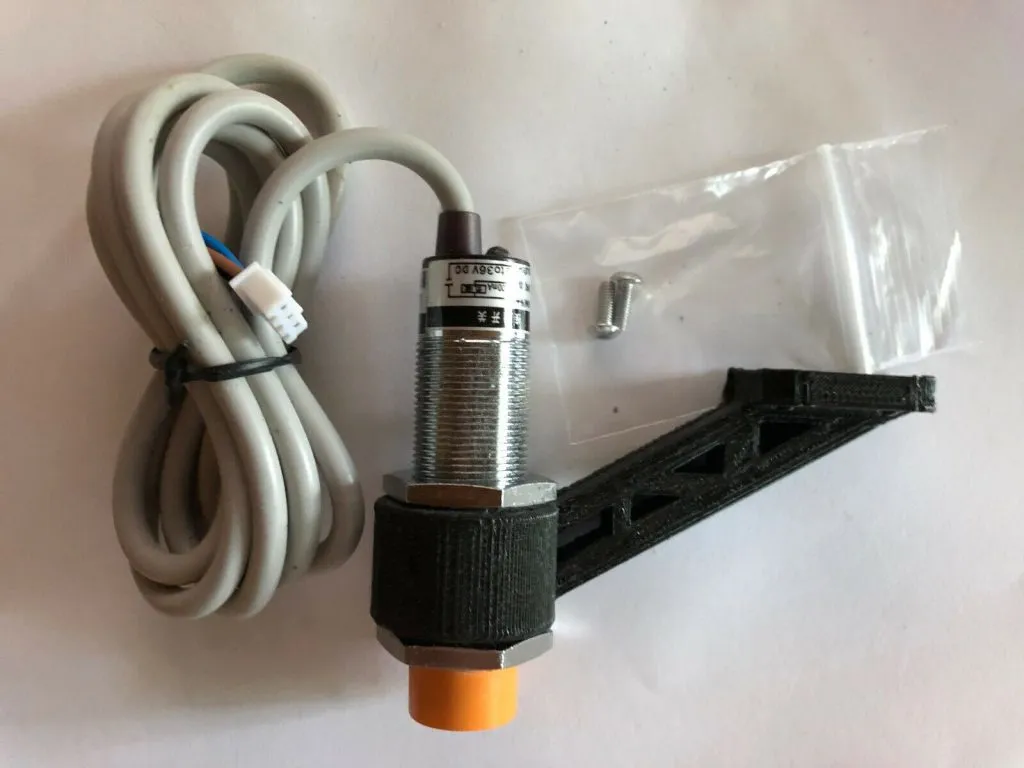
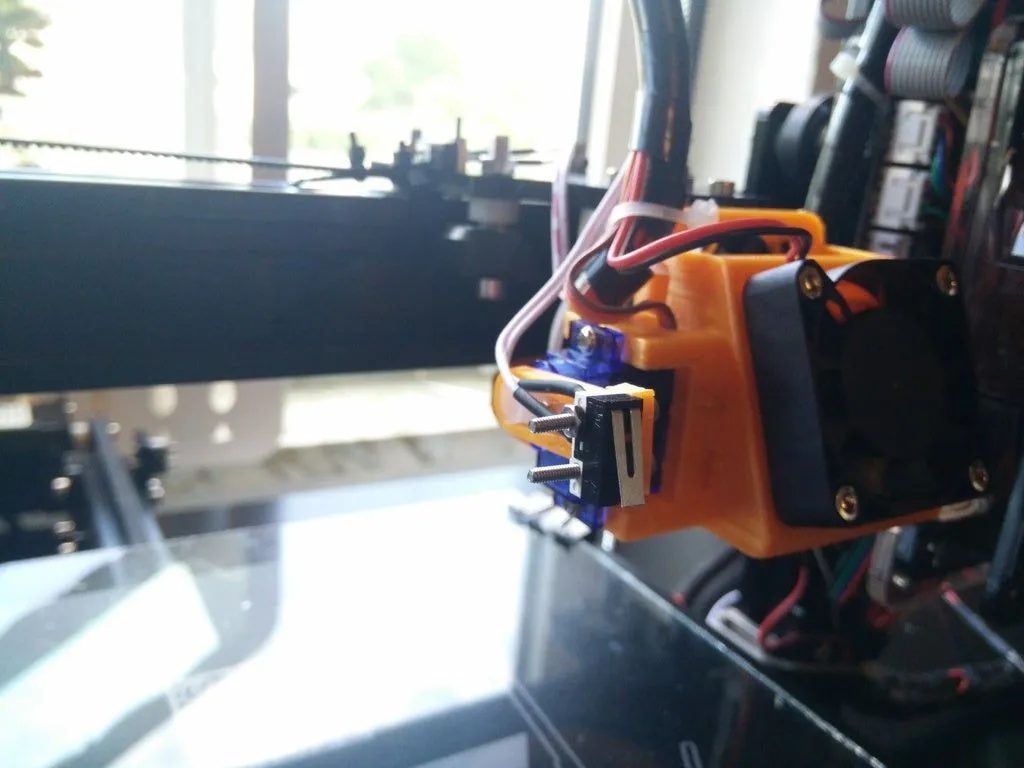
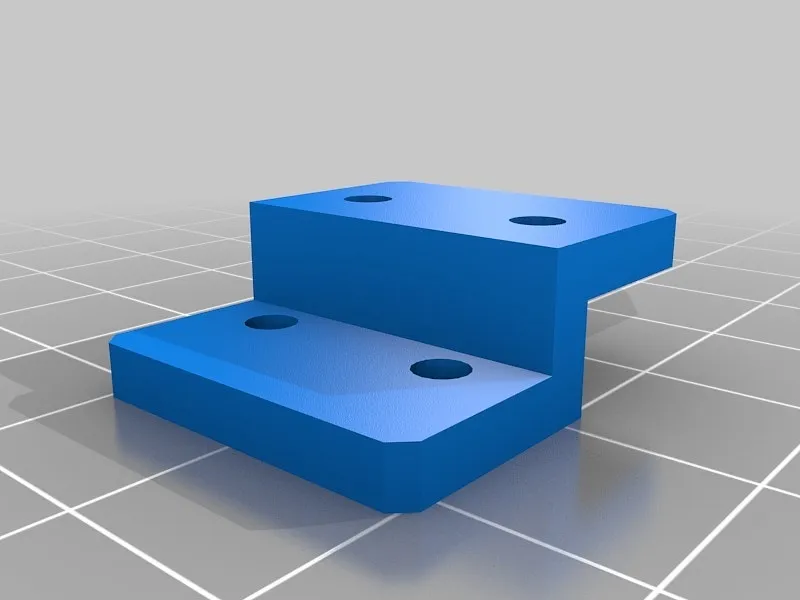
The first step is to mount the auto bed leveling sensor to your printer. The specific mounting method will vary depending on the sensor you choose. You may need to 3D print a bracket or use the hardware provided with your sensor. Ensure the sensor is positioned correctly so it can accurately measure the distance to the bed. The sensor should be aligned such that it can detect the bed’s surface before the nozzle makes contact. Carefully attach the sensor to the printer’s carriage, ensuring it is secure and does not interfere with the printer’s movement.
Wiring the Sensor
Connect the sensor to the appropriate pins on your printer’s control board. The wiring configuration will depend on your sensor and the control board of your Tevo Tarantula Pro. Typically, you will need to connect the sensor’s signal, ground, and power wires to the corresponding pins on the board. Consult the sensor’s documentation and your printer’s manual to ensure correct wiring. Incorrect wiring can damage the sensor or the control board. Double-check all connections to ensure they are secure and correctly placed.
Firmware Configuration and Uploading
Downloading and Installing the Firmware
If you have not already, you will need to download the firmware for your Tevo Tarantula Pro. Marlin is a popular open-source firmware choice. You can download it from the Marlin website or find pre-configured versions online. Install the necessary software on your computer to compile and upload the firmware to your printer. This may include the Arduino IDE or similar software. Having the right software is critical to making changes to the firmware settings.
Configuring Marlin Firmware
Open the firmware configuration file in your chosen software. You will need to enable auto bed leveling in the configuration.h file. Look for settings related to your sensor type (e.g., BLTouch, inductive sensor) and enable them by uncommenting the corresponding lines. You may also need to adjust settings like the Z-offset, which determines the distance between the sensor and the nozzle. Configure settings such as the sensor offset, the bed leveling grid size, and the probe’s X and Y offsets. Save the configuration file after making your changes.
Uploading the Firmware to the Printer
Connect your Tevo Tarantula Pro to your computer using a USB cable. In the Arduino IDE or your chosen firmware upload software, select the correct board and COM port for your printer. Compile the firmware and upload it to your printer’s control board. This process will overwrite the existing firmware with your updated settings. Wait for the upload to complete and disconnect the printer from your computer.
Testing and Calibration
Bed Leveling Test Print
Once the firmware is uploaded, it is time to test the auto bed leveling. Home the printer and then start a bed leveling test print. Many test prints are available online that will help you assess the first layer adhesion and the overall bed leveling accuracy. Observe how the printer lays down the first layer. Look for any gaps, unevenness, or areas where the filament isn’t sticking. Common test prints include a large square or a series of lines covering the bed’s surface. Watch the print closely and adjust the Z-offset if the first layer isn’t perfect.
Adjusting Z-Offset
The Z-offset is a crucial setting that determines the distance between the nozzle and the bed when printing the first layer. If the Z-offset is incorrect, the first layer will not adhere properly. If the nozzle is too far from the bed, the filament will not stick. If the nozzle is too close, it can scratch the bed or clog the nozzle. Adjust the Z-offset in your printer’s menu or through the firmware configuration. Fine-tune this setting based on the results of your bed leveling test print. Increase the Z-offset if the nozzle is too close, and decrease it if the nozzle is too far. Repeat the bed leveling test and Z-offset adjustment until you achieve a perfect first layer.
Troubleshooting Common Issues
Sensor Not Triggering
If the sensor isn’t triggering, double-check the wiring connections. Ensure the sensor is correctly wired to the control board. Verify that the sensor is functioning properly. Check the sensor’s documentation for troubleshooting steps. Make sure the sensor is within the correct range of the bed. If using a BLTouch, check the probe deployment and retraction. In the firmware, verify that the correct sensor type is selected and enabled. If the problem persists, consider testing the sensor independently using a multimeter to check for continuity or voltage changes when triggered.
Bed Leveling is Inconsistent
If the bed leveling is inconsistent, check that the bed is stable and not wobbling. Ensure the bed surface is clean and free of debris. Level the bed manually before starting the auto bed leveling process. Sometimes, the bed itself may have warps or imperfections that can affect the leveling. If the bed is warped, you may need to adjust the leveling compensation or consider using a different bed material. Ensure the sensor is mounted securely, and its position is stable. Check for loose screws or any movement in the sensor mount. Ensure the firmware settings for the sensor offsets are correct.
First Layer Adhesion Problems
If you are experiencing first-layer adhesion problems, carefully adjust the Z-offset. The Z-offset is critical to the successful adhesion of the first layer. Make sure the nozzle is close enough to the bed. Ensure the bed surface is clean and free of debris, dust, or oil. Use bed adhesion aids like glue stick or painter’s tape. Verify the bed temperature is set to the correct temperature for your filament. Try lowering the printing speed for the first layer. If you’re still experiencing problems, consider using a different bed surface material or adjusting your filament settings.
